
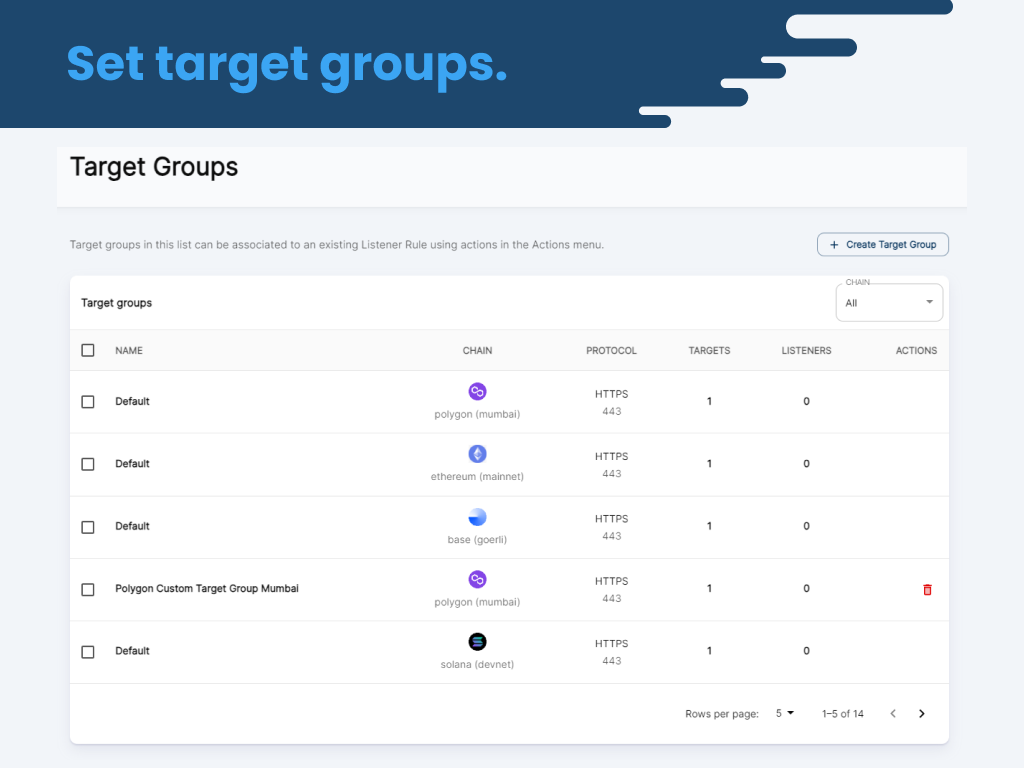
This Smart RPC Load Balancer simplifies regional load balancing for RPC-driven applications. Our simple and easy to use dashboard allows you to quickly add fault tolerance to your application in as few as 2 steps.
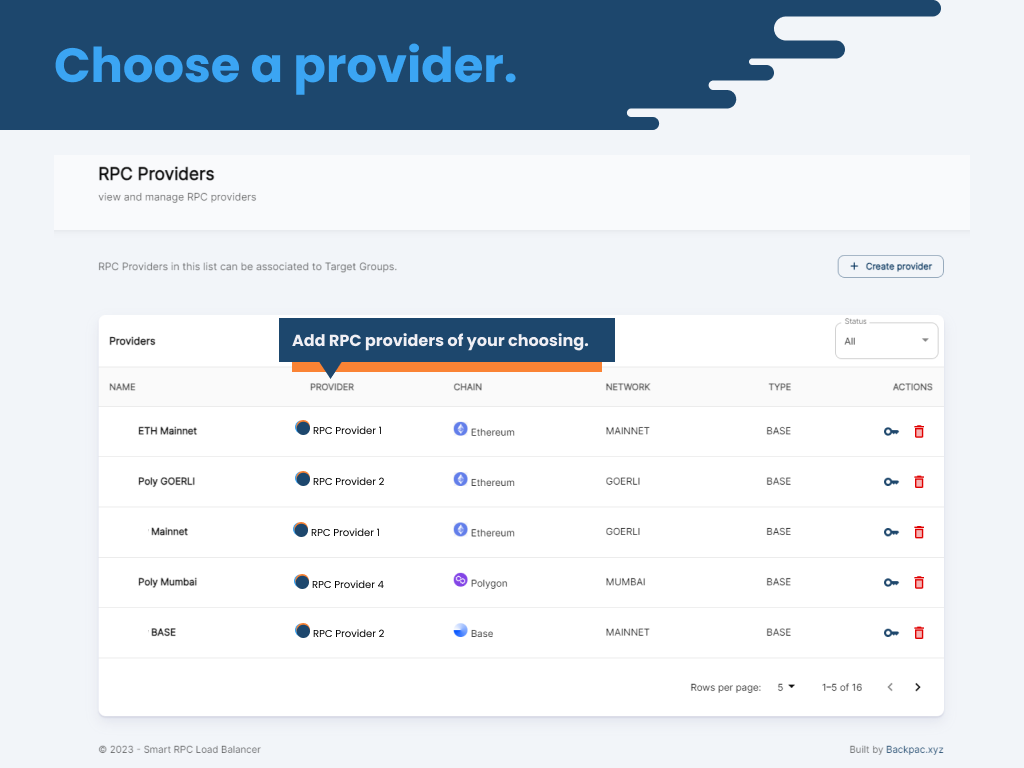
By directly offering reputable providers like QuickNode and your preferred custom RPC providers, we streamline the distribution of RPC requests across numerous nodes.
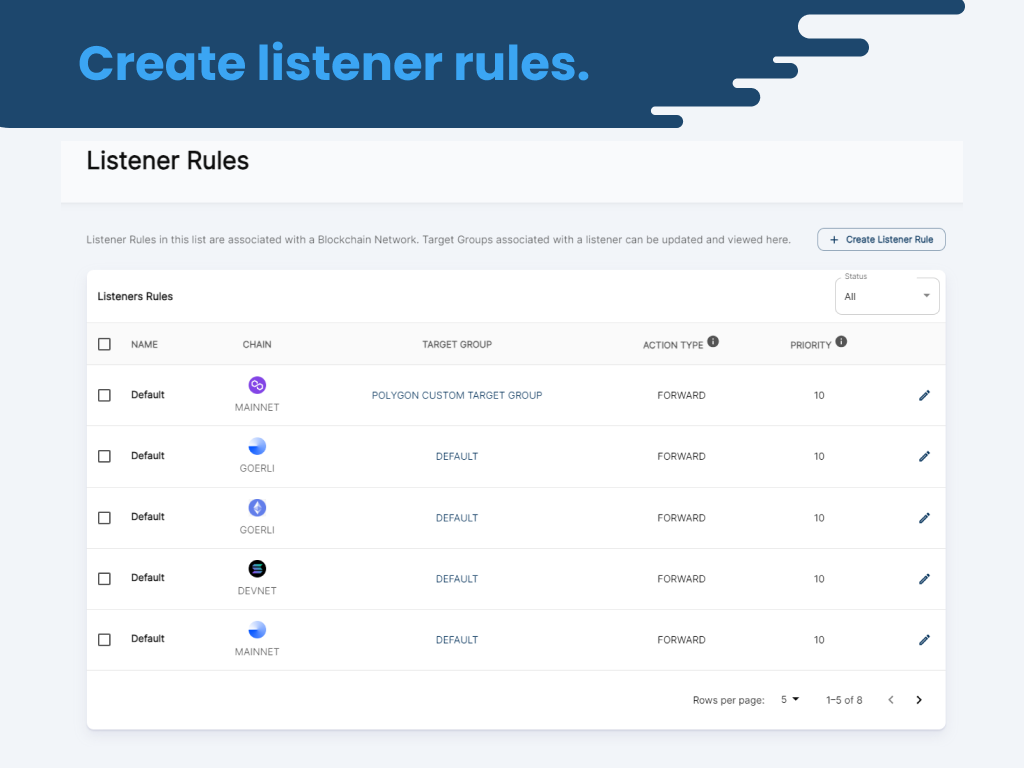
Our Smart RPC Load Balancer bolsters reliability by automatically routing requests to active RPC endpoints with the highest block height, ensuring uninterrupted service delivery. This proactive approach minimizes downtime, providing you with a dependable RPC workload experience.
Additionally, our load balancer optimizes regional distribution and caching based on blockchain block times, resulting in latency, efficiency and overall system performance.

